Having a professional email for a company is too necessary because it gives a professional impression to your customers and other business partners. Using a Professional or Business Email is more secure than the generic other emails because they protect your data. In this article, we will teach you how to create a professional email for your business.
What is Professional Email
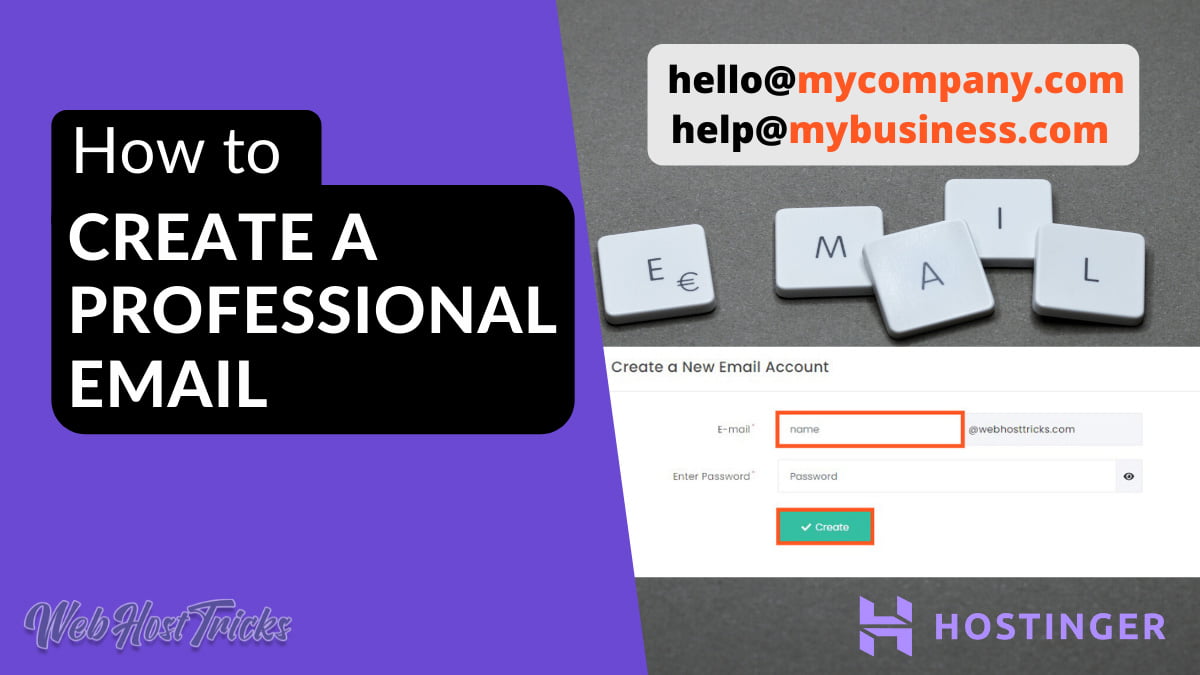
A professional business allows you to use your company name instead of other generic emails like Gmail, Yahoo or Hotmail. Beginners use free generic email accounts without a domain name which is not professional and give a negative impression on their customers. It becomes difficult for customers and other businesses to trust you. Example: [email protected] then you should use [email protected].
Why Create a Professional Email
When you are using a professional email account for your company then it impacts the following major points to customers.
- A business email looks more professional.
- Professional Email is short and easy to remember.
- It helps to earn customer trust as a professional.
- It promotes your brand name when you send an email to your customer or any other businesses.
If you want your customer to take an interest in your products, then you should create a professional email immediately.
Prerequisites to Create a Professional Email
To get a professional email account first you need a domain name and a website that shows an online presence of your business. After that, you have to create a professional email using your hosting providers. Follow the below steps to start.
- Get a Domain name and Hosting
- Create a Business Email Account
So let’s start with buying a Domain and Hosting
Get a Domain and Hosting
Hostinger is a great place to start for beginners. It provides more affordable, cheapest, and best quality services in the domain and hosting registration. It hosting prices starting from $0.99/mon. its Signal Shared Hosting plan provides 1 email account and other Business and Professional Plan provides unlimited Email Accounts. Read more about Hostinger here. Click Here to start with Hostinger. You can view more Hosting Options Below.
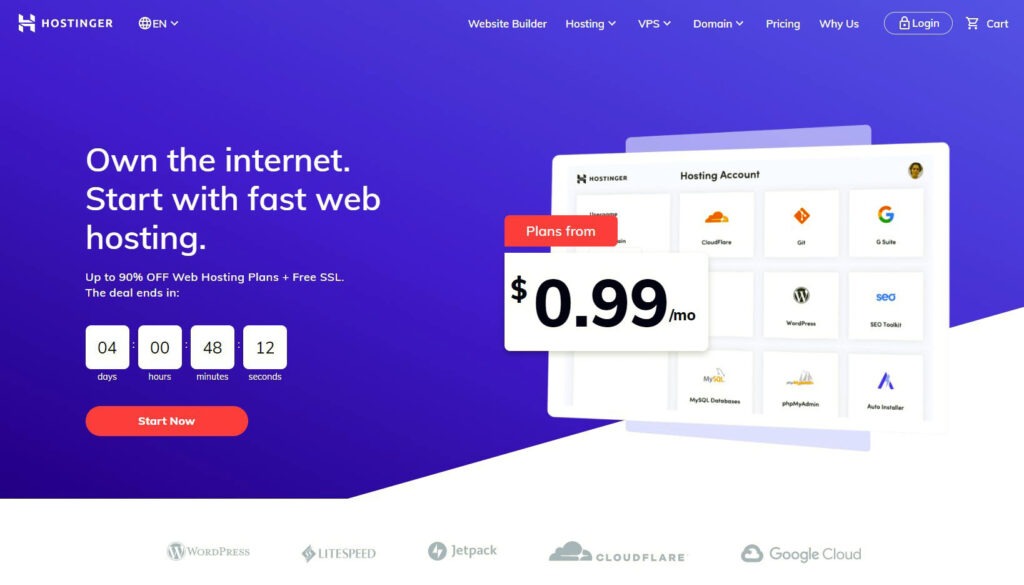
Buy Domain and Hosting
Go to a domain checker in Hostinger and search for your business name and buy a suitable and best domain for you.
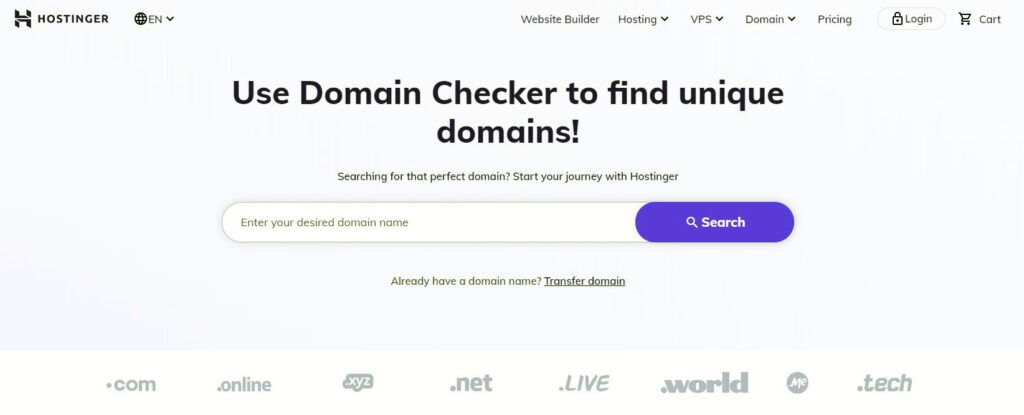
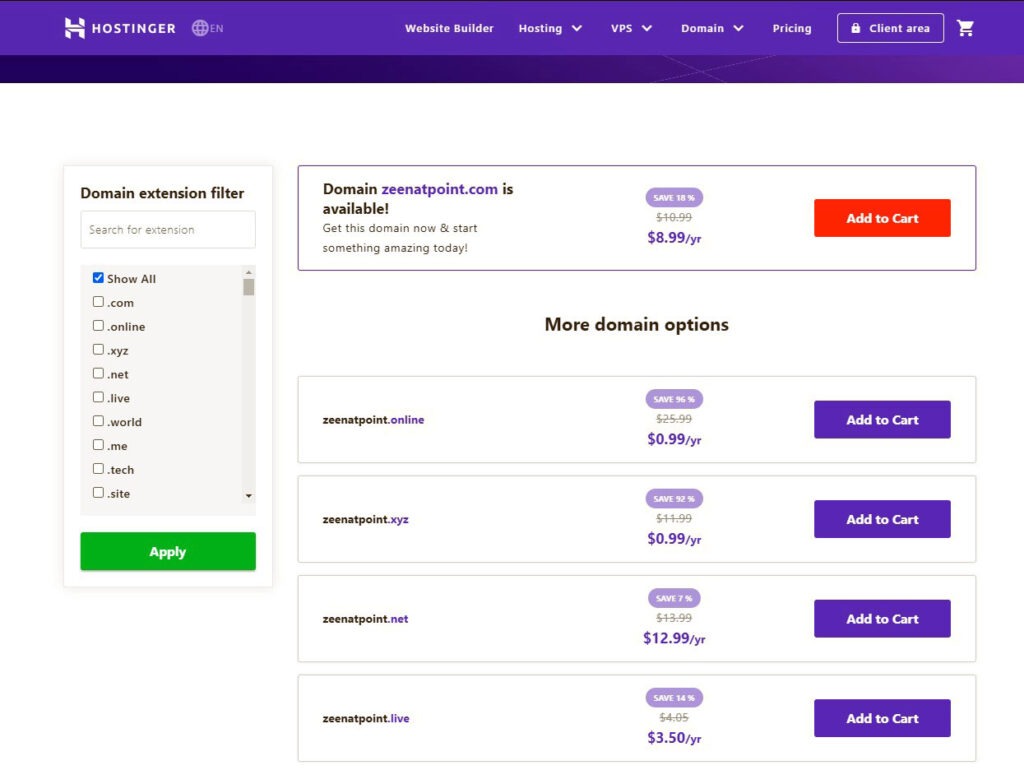
When you find a suitable Domain Name then click Add to Cart in front of it and go to Checkout.
Your Checkout Cart will look like below.
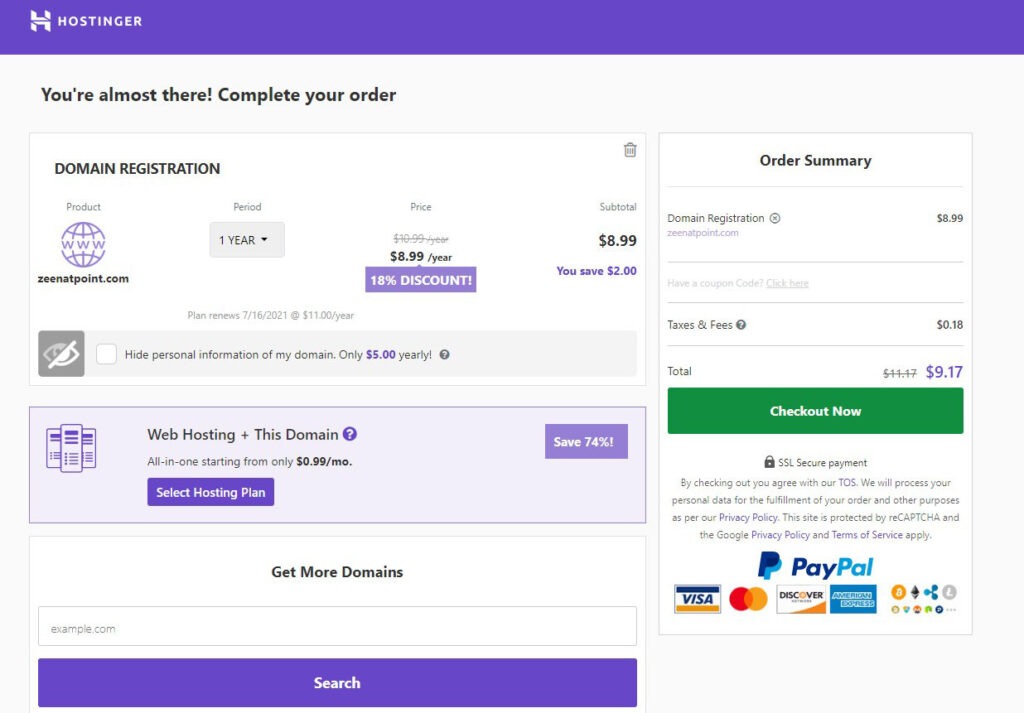
Now Select Hosting Plan to host your domain and website online. When you click on the Select Hosting Plan from your Cart checkout then the following window will display in front of you.
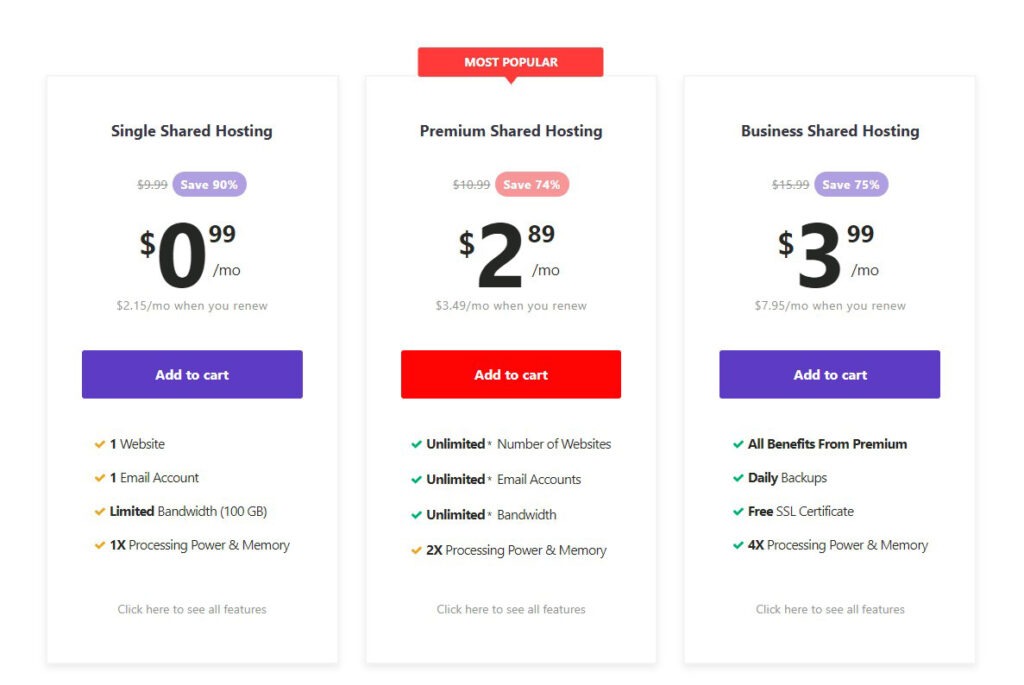
Select the Hosting Plan which suits you and click Add to Cart. You can see all Features and Details about Hosting too. After selecting your Hosting Plan your final Cart will look like this.
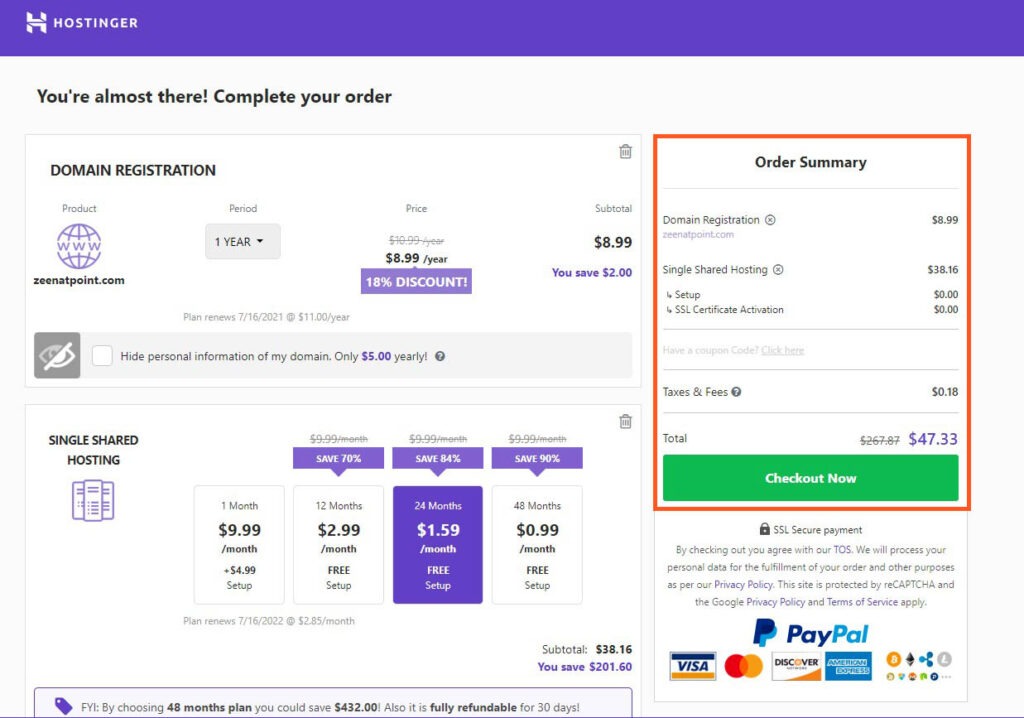
Click on Green Checkout Now button and sign Up for Hostinger and Enter your Payment details and Purchase your Domain and Hosting.
After buying a domain and hosting you can start a WordPress website by Install WordPress and set up your website. You can add themes, pages, plugins, and posts to your website. Learn from our WordPress Tutorials.
Create a Professional Email Accounts
Now when you have your domain and hosting then you can easily create a professional email account for your business. Now you have to do the following as well.
Now you can create your business email so follow these steps.
Login to Hostinger hPanel
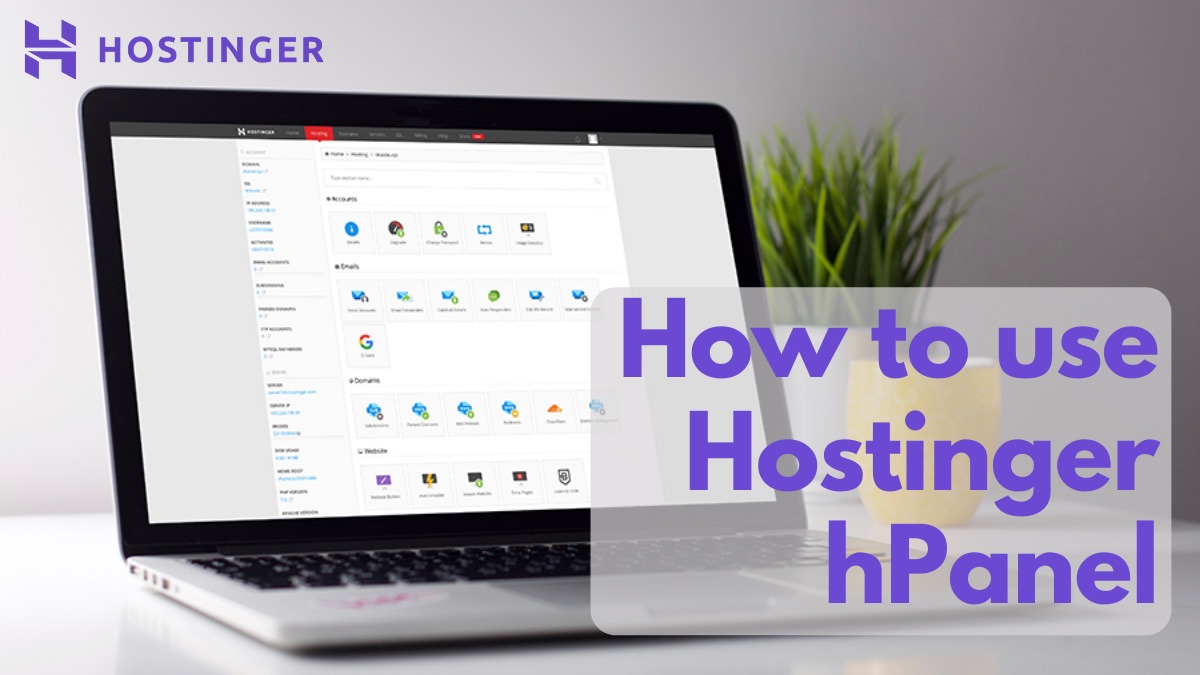
When you buy hosting and domain then you receive an email from Hostinger that has a link to login to Hostinger hPanel. Or you can log in through https://hpanel.hostinger.com/ and enter your user name and password to log in. Learn What is Hostinger hPanel and How to Use it?
Find Emails Section
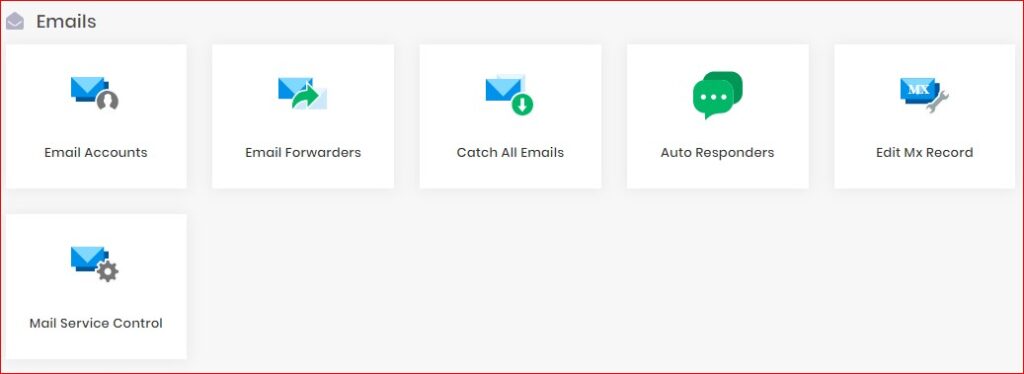
Go to Manage Hosting in front of your Hosting or from Menu. Tools will appear and search for email section and click on Email Accounts
Create a New Email Account
In this window, you can view the Email Details including your server details. Below you will see Create a New Email Account here you can add your email name and password and then click Create. Now you get your email account easily.

Manage Email Accounts
When you create an email account then you can see a list of your email accounts where you can Manage them separately. When you click on the blue Email button then you will redirect to Hostinger Webmail Address where you can manage your email just like other Gmail, Yahoo, or Hotmail.

More in Emails Sections
In the email section, you can set up Email Forwarding, Auto Responder, Edit MX Record and Mail Service Controls. You can forward all the emails that you receive in your business email to other email accounts when you click on Email Forwarding and set up it.
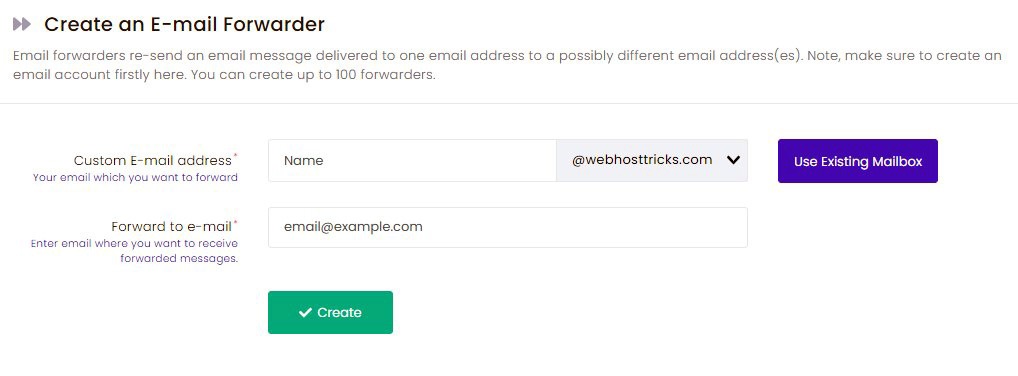
So by these simple steps, you can easily create your professional email accounts and make a good and professional impression to your customer and other business. This will increase your brand awareness as well and you will earn more Revenue.
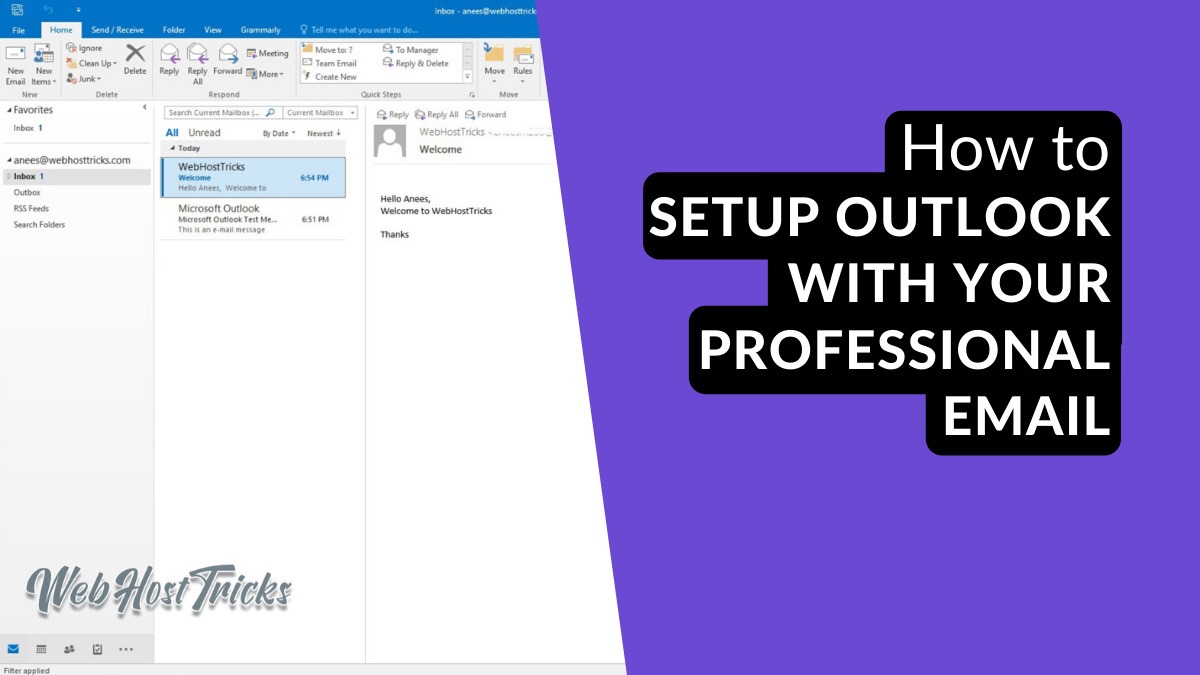
After creating an email now you can setup your email with MS Outlook for better experience.
Quick Overview
- Login to Hostinger hPanel
- Click Hosting and Search for Emails
- Select Email Accounts
- Enter your email Name and Password
- Click Create
With these quick steps, you can easily maintain your business email accounts.
Email Hosting
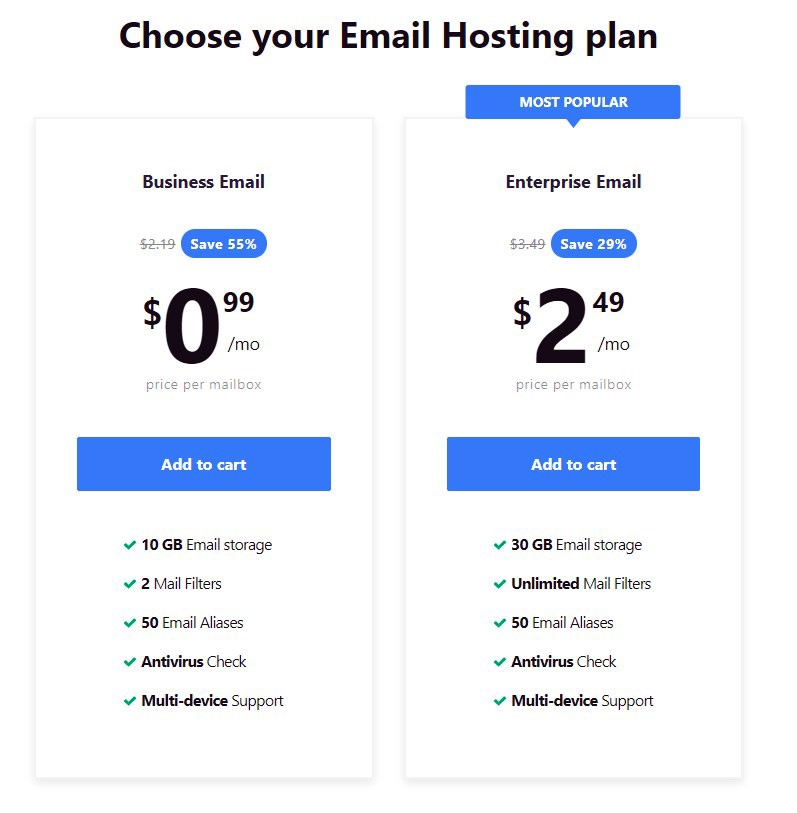
If you need more functionality of your email accounts or if you are an enterprise or Large scale business, then you should go for Email Hosting. Hostinger also provides Email Hosting by selecting any of them you can enhance email protection, task management and many more for your team. GSuite plan provides Google Services like Gmail and Google Drive and you can use voice and video calling as well. View the Email Hosting plan below.
Other Web Hosting Options
Although Hostinger is the best and cheap option for a starter if you don’t like it then you should consider the following as well.
BlueHost: BlueHost is the best hosting provided and Officially Recommended by WordPress. Its Basic plan starts from $3.95/mon and its Email Hosting is starting from $2.99/mon.
NameCheap: Namecheap is the Best Domain Registrar around the world that starts from $0.88. Its Hosting Plan starts from $1.44/mon with US data centers. Namecheap’s Email Hosting starting from $0.79/mon
DreamHost: DreamHost is also an affordable WordPress Hosting that starts from $2.59/mon with WordPress Pre-Installed facility. Its Email Services starts from $1.67/mon
HostGator: HostGator is also one of Top Hosting Providers those prices are starting from $2.75/mon with Free Domain and Free SSL Certificates.
Read Details About 5 Best Hosting For WordPress
Wrap Up
If you have a professional email account, then this will enhance your brand trust to your customer and other businesses with you communicate to them by using your business emails. So follow this quick method to create a professional email account using Hostinger. For more, you can learn more about WordPress and Hostinger.
Please provide your suggestion and feedback by Contact us. You can also like us on Facebook, Twitter, Instagram, YouTube and Pinterest.

