Namecheap is the #1 Domain Registrar around the world. It is a domain and web hosting company that registered 16 million domains till now from 2000. If you are fed up with your domain provider which asks you for a high renewal fee, then you should transfer your domain name to Namecheap. In this video, how can you transfer to Namecheap from Hostinger?
Reason to Transfer to Namecheap
As Namecheap is the cheapest and the best domain registrar. There are four main reasons to transfer to Namecheap.
- Zero Downtime while transferring
- Free Lifetime Privacy Protection
- 24/7 Expert Support
- Carry time over
To transfer your domain name to Namecheap today. If you want to get a new domain name, then enter your desired name and check the availability and get your domain name.
Find a domain starting at $0.88
powered by Namecheap
Checklist Before the Transfer to Namecheap
There are three steps in the transfer process. Let’s take a closer look at those processes.
Verification
The first step is to check that is domain eligible to transfer. To verify your domain, you have to log in to your current registrar and check the following:
- Is your domain 60 days old
- The domain name is not on hold
If all is good, then you can start your domain transfer process.
Preparation
In this second step, you must check that your domain is locked or unlocked and you have an authorization code also called Auth-Code, EPP Code, or transfer code. This auth code is used to verify the identity of the domain name holder.
Submission
If everything is fine, then now you can start your domain transfer process. Go to Namecheap Domain Transfer and submit your domain. Follow the steps to ensure your domain transfer process is easier.
Process of Transfer to Namecheap
You should follow the given video or text tutorial to transfer to Namecheap from Hostinger or another registrar.
Video Tutorial
If you like reading, then follow the text guide below.
Visit the Namecheap Domain Transfer
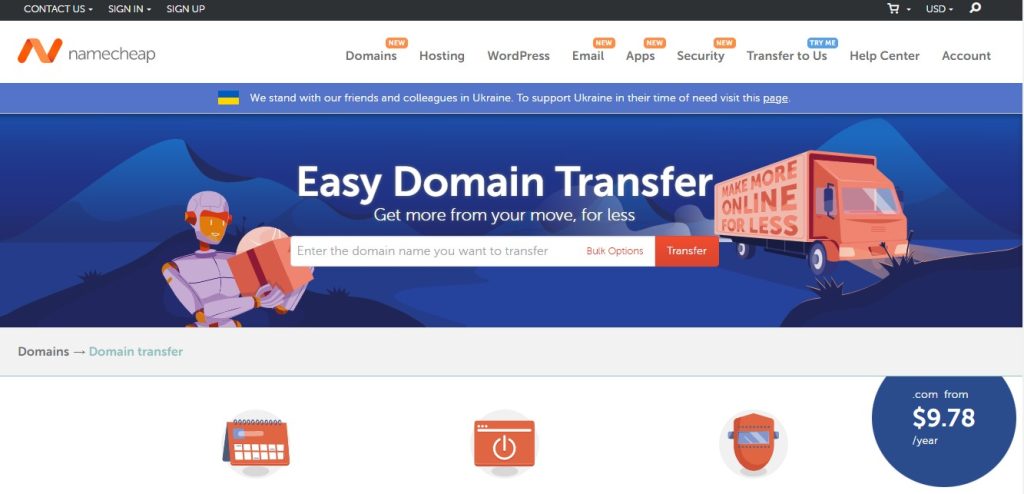
Visit the Namecheap Domain Transfer, and enter the domain name which you want to transfer, and click on Transfer.
Check Registrar Lock
After submitting your domain to transfer, Namecheap will check the domain lock or unlock. If your domain is locked, then you have to unlock your domain from your current registrar.

In this example we use Hostinger. (if you are using other registrars the process is the same)
Go to Current Registrar
Go to your current registrar domain section and unlock your domain and copy the auth code, EFF code or transfer code.
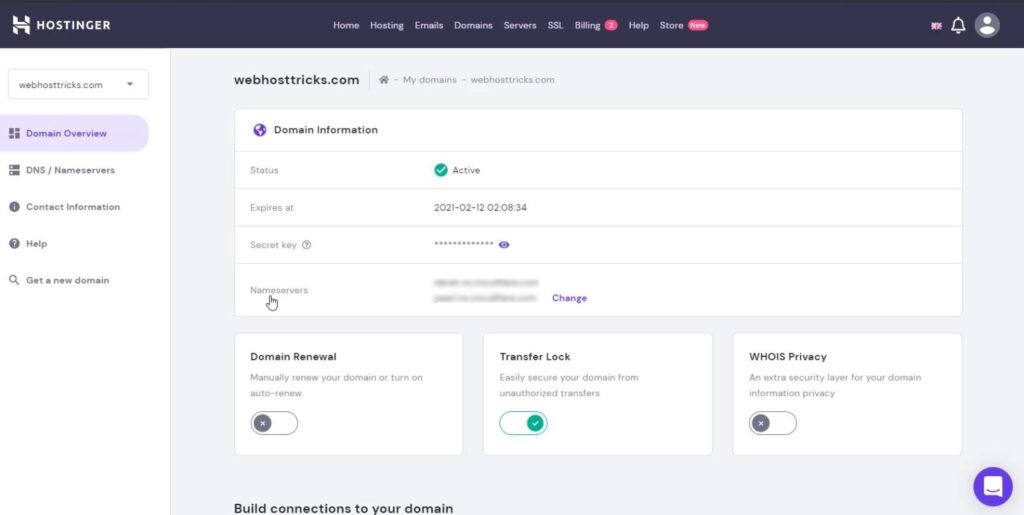
Your domain will unlock in five minutes. Come back to Namecheap and refresh the page and your domain status will have unlocked.
Enter Authorization Code
Enter your auth code which you copy from your current registrar and click on Verify Auth Code. Namecheap will verify the auth code and then you can click on the Add to Cart button.

Login to Namecheap
Now you have to register or login into your existing Namecheap Account.
Enter Billing Details
Enter your billing or payment details to complete the process. You can pay Namecheap with your credit/debit card or Paypal as well.
Review Order
Review your order which you import into your Cart and click on Pay Now. Namecheap starts the payment process and after the success that shows the confirmation and your order id and invoice. Namecheap also emails you about your order and other details.
Completed
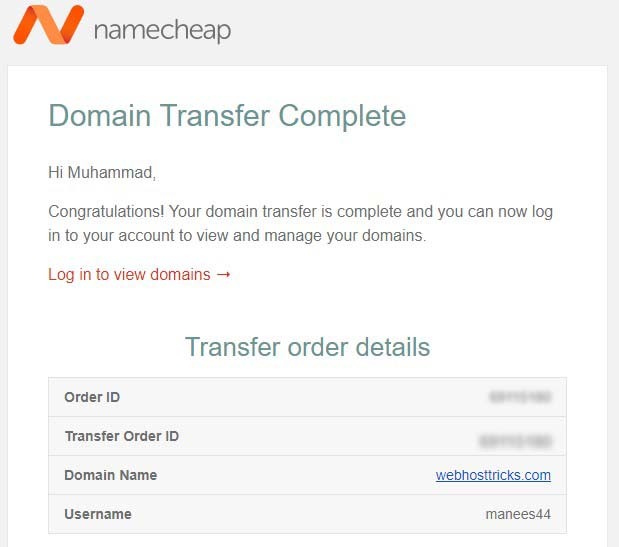
A few hours later, you will get an email from your old registrar which asks you for the transfer confirmation. You have to allow that confirmation and your domain will transfer to Namecheap in a few days. When the process is complete then you will get the following email.
How Long Does Domain Transfer Take
Namecheap and other registrars take up to six days to complete the domain transfer process. You have to take no worries and give yourself some time to complete the whole process. If it’s been more the six days, there may be several issues the transfer may fail.
After completing the transfer process, you have to install WordPress on Namecheap.
In Short
If you want to transfer your domain from Hostinger to Namecheap, the process is straightforward. Here’s a quick overview of the steps:
- Ensure that your domain is eligible for transfer and meets the transfer requirements set by ICANN.
- Disable the domain’s privacy protection and unlock it on Hostinger’s control panel.
- Obtain the domain’s authorization code from Hostinger.
- Purchase the domain transfer service from Namecheap.
- Initiate the domain transfer process on Namecheap’s website and enter the authorization code.
- Wait for the transfer to be completed, which can take up to five business days.
- Once the transfer is complete, update the domain’s DNS settings on Namecheap’s control panel.
By following these steps, you can successfully transfer your domain from Hostinger to Namecheap, and start enjoying Namecheap’s reliable and affordable hosting services.
Closing Remarks
So Namecheap is the best, cheap and most affordable domain name registrar. It provides free data privacy protection name as WHOIS Guard, 24×7 chat support and other cheap domain rates. Transfer to Namecheap now and enjoy the best experience.
Follow more about Namecheap Tutorial to learn about WordPress website development. Follow us on Facebook, Twitter, Instagram, Youtube, Pinterest and subscribe to our Newsteller for more tips and tricks and our latest update. Provide your comment and suggestion in the comment section below or Contact Us.
