
Do you want to create an LMS website in WordPress? So, we are writing a full step by step guide to creating a learning management system for you (included Video Below). LMS or learning management systems will allow you to create an online education system. Where you can upload your online course and classes like Udemy or Coursera and others.
In this LMS WordPress website you can create and manage your own:
- Online Courses
- Lessons
- Topics
- Quizzes
- Assignments
- Certificates
- Group
- Reports
- Manage User Registration and Profiles
Looking Awesome So Let’s dig in to start the LMS WordPress website.
Step 1: Get Domain and Hosting
First of All, you have to get a Domain name and Hosting for your website. Domain Name is the brand name or your website name that represents your online presence. Web Hosting is the online space or storage where you store your files or database. So Domain and Hosting are important for your website. You have to choose them according to your need and preferences.
Select from 5 Best Web Hosting for WordPress Website 2020 or choose from one of the following those are the best and popular web hosting providers.
BlueHost
Starts from $3.95
Free Domain
50 GB SSD Storage
Rec by WordPress.org
NameCheap
Starts from $1.44
Free Domain
20 GB SSB Storage
Free SSL
Hostinger
Starts from $0.99
Free Domain
100 GB Bandwidth
Free SSL
You can also select from the following as well:
Read More: How to Get a Free Domain and Hosting
Step 2: Install and Setup WordPress and LMS Plugin
After selecting the domain name and web hosting now you have to install WordPress on your hosting. Every web hosting provides the feature of 1-click WordPress installation. So just find WordPress and install it. WordPress will automatically install on your hosting with simple and quick steps.
Enter your Website Name, Tagline, Email Address, Set Username and Password and click on Install. After the installation of WordPress, you will be redirected to your website’s WordPress Dashboard that looks like this.
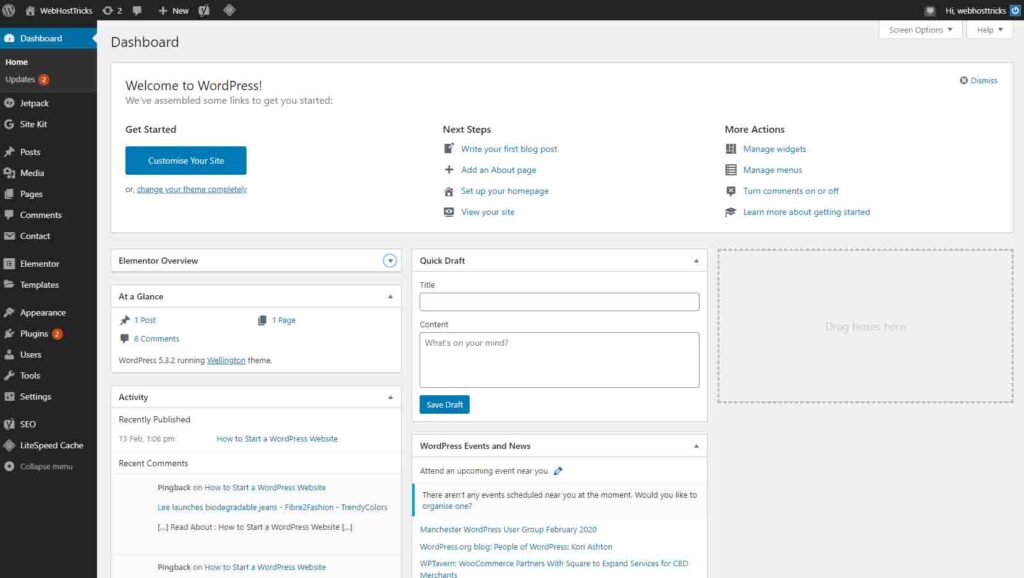
You can visit your website by entering your domain name or Click on Visit Site from your WordPress Dashboard. Now it’s time to Install LearnDash a learning Management System on your website.
Why Choose LearnDash as Online Learning Management System
LearnDash is one of the best learning management system for WordPress website. It is the most popular LMS and easy to use. Its price starts from $159 for a single website with 1 year of Support and updates. So LearnDash is the most user-friendly LMS plugin that comes with comprehensive features to manage your online LMS. LearnDash Offers:
- Drag and Drop Support
- Course Builder
- Advanced Quizzing Support
- Drip-Feed Content
- Flexible Perquisites
- Dynamic Forum
- Gradebook
- Course Points
- Certificates and Badges
- Membership
- User Profiles
- Email Notification
- Reporting

Please Visit LearnDash Site Purchase its premium Support and install it on your WordPress website.
Install Theme on your LMS Website
Now it is time to design your website to increase the optimization and conversion. It should be mobile responsive and beautiful. Astra Theme is the best and recommended option to use in your website. Because it is LearnDash supported and already optimized for LMS. You can install Astra Theme by following these simple steps.
How to Install Theme on WordPress Website?
Here are the simple steps to install Theme on your WordPress website as follows:
- Visit your WordPress Dashboard
- Select Appearance
- Select Themes
- Click on Add New
- Search for Astra Theme
- Click on Install Now
- Click Active
This is the free version of Astra which provides fewer features and Support. You should get Astra Pro for better and premium features and Support. Its price starts from $44 only which includes All-Pro Features, 20+ Free Starter Templets, and Supports.

You can check more LearnDash Supported Themes here.
After activation of the Astra theme, click on Astra Options from Appearance and Astra Options. Follow these steps:
- Install Starter Templets
- Select Elementor as your Page Builder
- Select LearnDash Academy from Themes
- Import all the Recommended Plugins and Settings
- It will install all the recommended plugins and settings and you can visit your website.
YouTube Video
View this easy video to install the LearnDash plugin and Astra theme for your LMS website.
Now your website got a fresh new look of your own LMS WordPress website.
Step 3: Manage your LMS Website
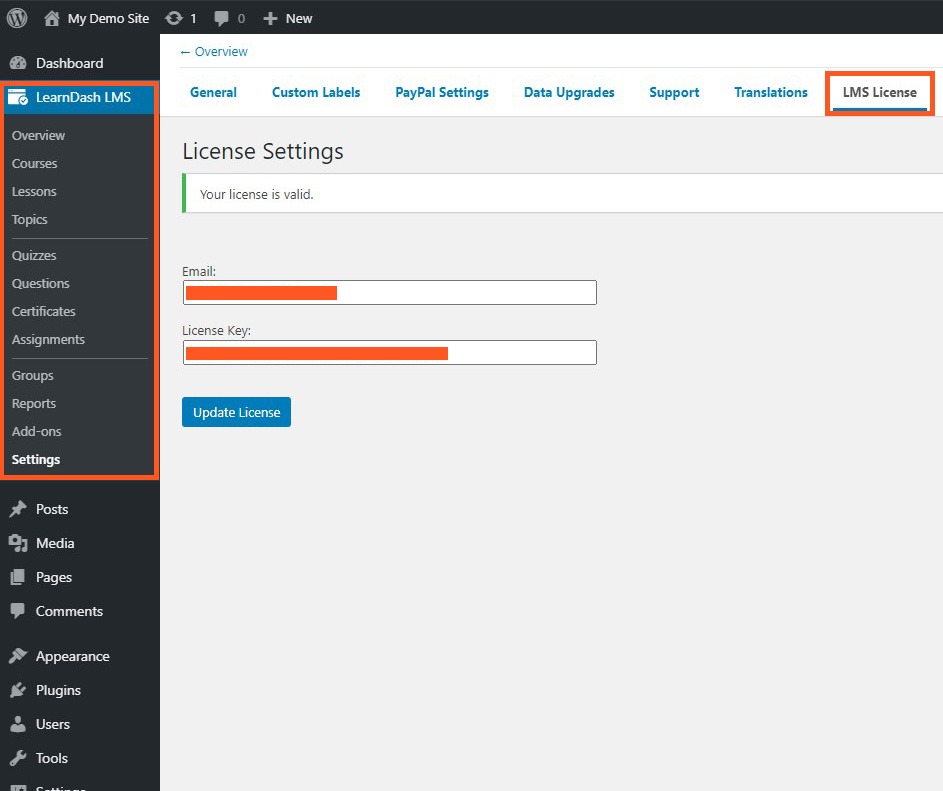
After the installation of the LearnDash plugin and Astra theme on your LMS website. Now it is time to set up and manage for LMS website with LearnDash. First of all, you have to Activate your LearnDash License. Go to LearnDash LMS > Settings, in the License tab enter your email address and your License Key that is provided when you purchase for the LearnDash Subscription.
LearnDash Overview
After the license activation first of all you have to get basic information about LearnDash. The below video briefly explain the LearnDash dashboard that includes:
- LearnDash Layout Overview
- Add-ons
- Settings
Create Courses using LearnDash Course Builder
In the below video you can learn the following:
- Create Courses
- Manage Courses
- Create Lessons
- Create Topics
- Manage Groups
Adding Content to Courses
In this video you can learn the following:
- Add Content to your Course
- Lesson Release Schedule
- Manage Topics of your Lessons
- Lessons Settings
- Topic Settings
Create Quizzes
In this section, you will how to create and manage the quizzes for your students. In the first sub-section of this, you will learn about the settings of Quizzes and Results.
In this section, you will how to Add Questions to your quizzes and manage them.
Setting User Registration
After adding the courses, lessons, topics, and quizzes to your LMS website. Now you have to configure the User Registration process that includes:
- General Settings about User Registrations
- Designing Beautiful User Registration Form
- Manage your User Sign Up and Login Page
Selling your Courses
Now after setting up User Registration you can sell your courses online. The below video includes how you can manage Paypal or Stripe payments for your course. You can manage a one-time fee or recurring fee for your Online Course. You can activate the Stripe add-on for Payments.
You can sell your Course with Woo Commerce too. In the below video you can learn about setting your courses to sell with Woo Commerce.
Create your Course Listing
After setting up the configuration of user registration and payments. Now you have to design your course listings. You can design it with provided Course Grid add-ons like the below video.
Your bored course list will redesign into a beautiful grid and you can order them according to your preferences.
Adding the User Profile
After setting everything now it’s time to manage User Profiles so that your user or students easily handle their subscribe courses. Users can instantly see the following:
- Own Profile
- Subscribed Courses
- Performance
- Progress
- Results
- Certificates
The below video explain the setup of user profiles.
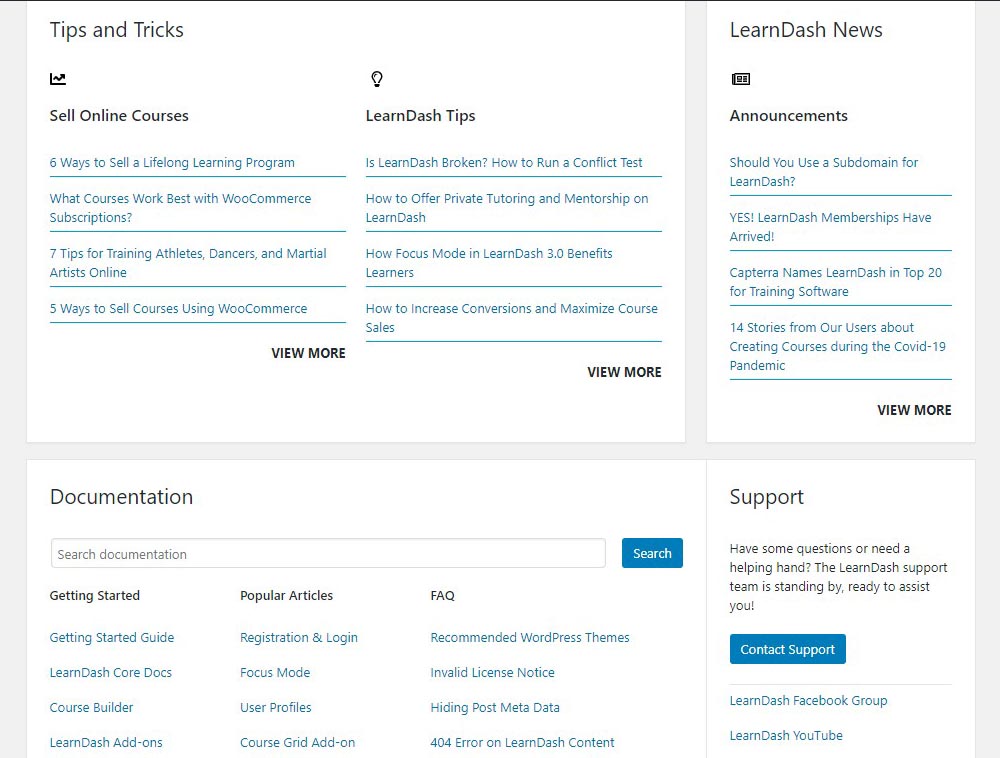
So you almost create an LMS website for yourself or for your client. Now you can easily manage and maintain your website. You can take help from LearnDash’s Tips and Tricks, Youtube Channel, and Help and Support. All the options are available below down in the LearnDash Overview tab.
You can also make your website more advance and enhance it with SEO, marketing and analysis.
YoastSEO: Best SEO plugin for the WordPress website that is used to get Organic traffic for your website.
MonsterInsight: This is an analysis tool that will integrate your LMS website into Google Analytics. So you easily track your visitor activity, behavior, bounce rate and many others.
MailChimp: this tool is used for marketing purposes. This plugin will help you to generate an email list for you. Then you can market your website to your subscribed user and plan your strategies.
Read Also: 10 Must-Have WordPress Plugins for a New Website
LearnDash is one of the best LMS plugins to create an LMS website but there are more options and plugins available in the market. Let’s take a look at them
Other Best LMS Plugins
Here are the few other best LMS Plugins to create an LMS website that is explained below:
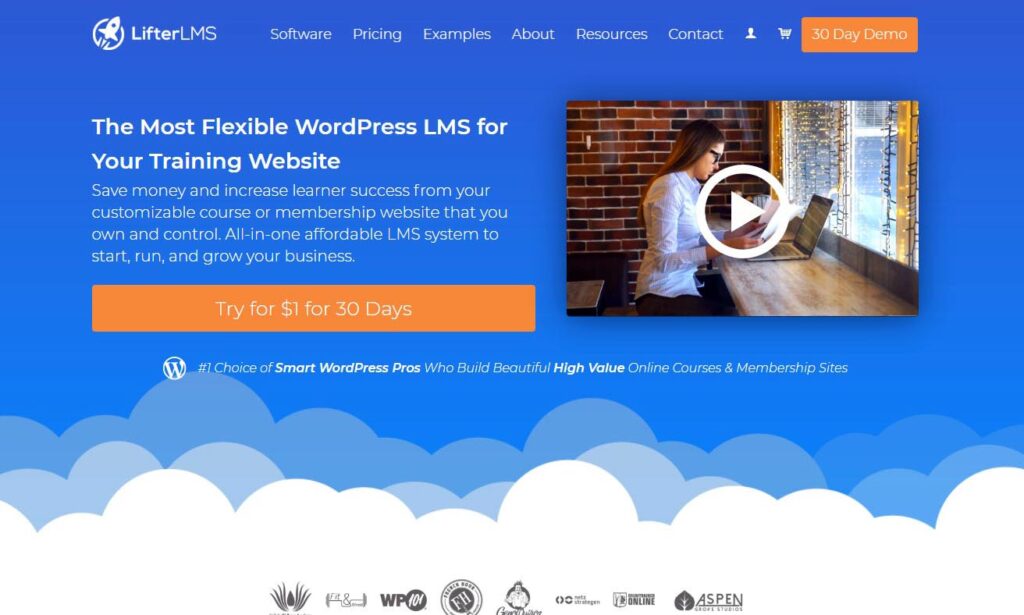
LifterLMS
LifterLMS is another powerful WordPress LMS plugin that supports multi-tier courses, demo courses, training modules, lessons, categories and many more. It supports smaller courses and even full degree programs.
This LMS plugin includes multimedia courser, content dripping, and group memberships. It helps to boost user engagements with automated emails, badges and certificates. LifterLMS prices are starting from $99 Only for 1 site integrations but you have to pay extra for extra add-ons. So this is a bit more costly than the LearnDash.
LearnPress
LearnPress is a free WordPress LMS plugin with powerful features and support. It comes with a setup wizard that set up everything on your own. You can easily create courses with lessons, topics, quizzes and questions. You can export content from one site to another WordPress site.
It supports free and paid add-ons that help you to create your course with bbPress and Woo Commerce and other membership plugins. There are also WordPress LMS themes created with this plugin and you get many more as well. LearnPress bundles are starting from $49 for extra and advanced setups.
Sensei
Sensei is yet another powerful WordPress LMS plugin that is created by Woo Commerce. So it is flexible as WordPress and Woo Commerce. Course creation is easy but not more powerful as the other plugins. It supports lessons, topics, quizzes, assignments and certificates for the students. It supports an automatic or manual setup.

To sell your course online you have to use the Woo Commerce plugin. Create your course as a product and then connect with Woo Commerce. There are not so many extra add-ons but supports membership plugins. Its price is starting from $129 for 1-year support.
Conclusion
In this article, we write about how to create LMS website in WordPress. Starting from getting the domain and hosting for your website. By installing plugin and themes you can easily set up your online courses with lessons, topics, assignments, quizzes and certificates for your students.
You can market your courses with PayPal and Stripe or with Woo Commerce as well. In the end take a look at the other Best LMS WordPress plugin. But we recommend LearnDash for the best LMS WordPress Plugin with its premium and advanced support.
Learn more about Hostinger, WordPress and other How-to Trick here. Follow our Newsletter to get every trick in your email. Please provide your suggestion and feedback by Contact us. You can also like us on Facebook, Twitter, Instagram, YouTube and Pinterest.