

Sometimes your website needs major updates so work on a live site is a bit tricky. You should update your website behind the curtains which is best practice and professional. So, you can put your WordPress website in maintenance mode that will show that “Your website is unavailable for some time”. In this article, we are trying to sum up how to activate maintenance mode on the WordPress website.
What is WordPress Maintenance Mode
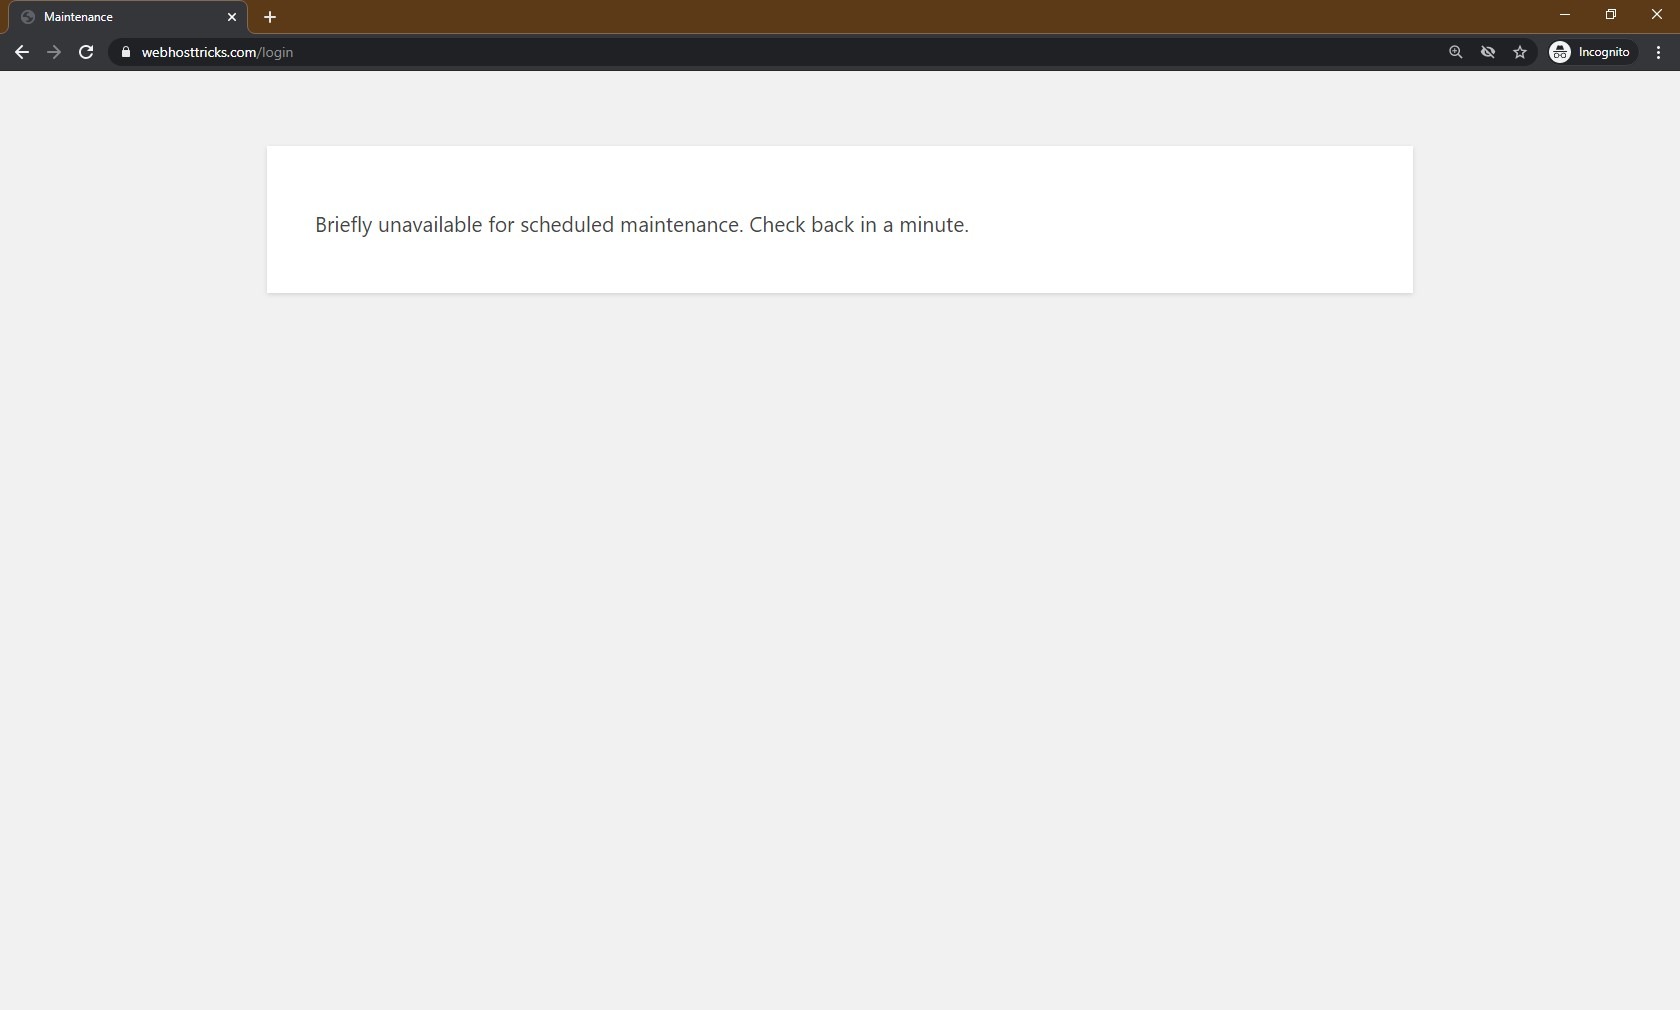
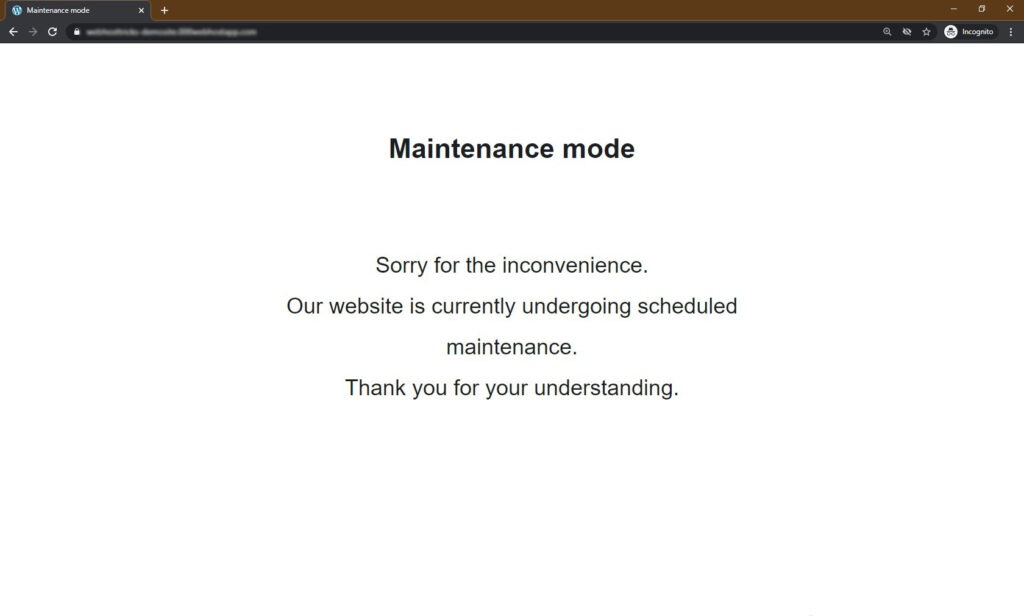
Maintenance Mode is a page, message or status that will replace your website and shows that your website is under maintenance or another message. This page will inform your visitor that this website is currently unavailable and live soon. You can display estimation when your website will live again in the form of timer, notification or form. The default WordPress Maintenance mode is below.
When the maintenance mode is on then WordPress will use the wp_maintenance function and creates a .maintenance file that contains the message. After completion of maintenance mode this file is deleted and your website work normally.
When to Put WordPress website in Maintenance Mode
When your website is new then there is no need to enable maintenance mode on your website whenever you make changes. But your website grows bigger and getting more daily visitors then changes or updates could be bigger and longer that takes time and require downtime. So, you have to put your WordPress website in maintenance mode that prevents visitors to access your website. The situation for enabling Maintenance Mode are:
- Updating or Switching WordPress Theme
- Testing or updating Plugins
- Fixing Website Issues or problems
- Adding New Features
- Setting Up New Services

How to Enable Maintenance Mode in Website
You can enable maintenance mode in WordPress website with different methods that are discussed below.
Method 1: Using Hostinger hPanel
If you are using our recommended Hostinger Web Hosting that is starting from just $0.99/mon then you can easily activate maintenance mode from hPanel with quick steps.
- Login to Hostinger hPanel
- Click Hosting and Manage
- Go to WordPress and then Dashboard
Here you can see the Maintenance Mode in the Core Section.
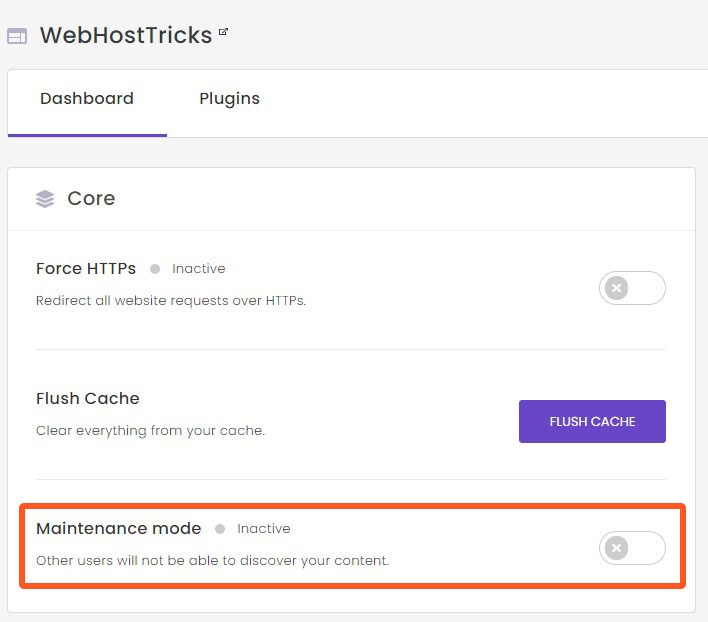
- You can activate it and deactivate it by just 1-click

As you see this is the simplest and easy method to enable maintenance mode on your website.
If you are not using Hostinger then don’t worry you can read below for details.
Method 2: Using WordPress Plugins
You can also enable under construction mode of your website with WordPress Plugins that are briefly explained below. The most popular maintenance Mode plugins are:
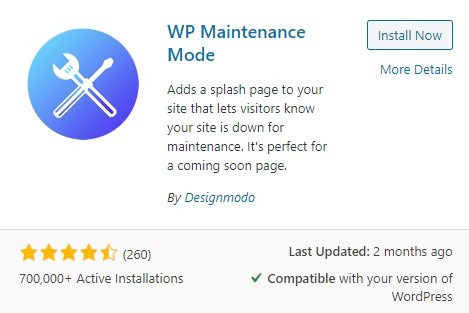
WP Maintenance Mode
WP Maintenance Mode is a free and most popular WordPress maintenance plugin that is having over 700k active installs. You just have to install this plugin by searching “WP Maintenance Mode” and activate it. With this plugin only registered users can view your website otherwise this shows under maintenance message or custom message to visitors. The features of this plugin:
- Subscription Form
- Countdown Timer
- Contact Form
- Coming Soon Page
- Landing Page
- Social Media Sharing Options
- Redirect URLs
- Fully Customizable
So, with WP Maintenance Mode plugin you can design a customizable, beautiful and responsive Coming Soon Page design. Open this plugin setting by Settings > WP Maintenance Mode, this will show you 5 Tabs that is used to enable and customize your Maintenance Landing Page.
General
In General Tab, you can see the following settings option that is used to manage your Landing Page.

Status: here you can activate or deactivate you’re your website’s maintenance mode
Bypass for Search Bots: if set Yes, then search engines will be able to crawl your website under maintenance
Roles: this will allow you to manage your team to access the backend or frontend of your website.
Redirections: enter the URL here, if you want to redirect your visitor to another website.
After setting the options and click Save Settings in the bottom your Maintenance Landing Page will look like this.
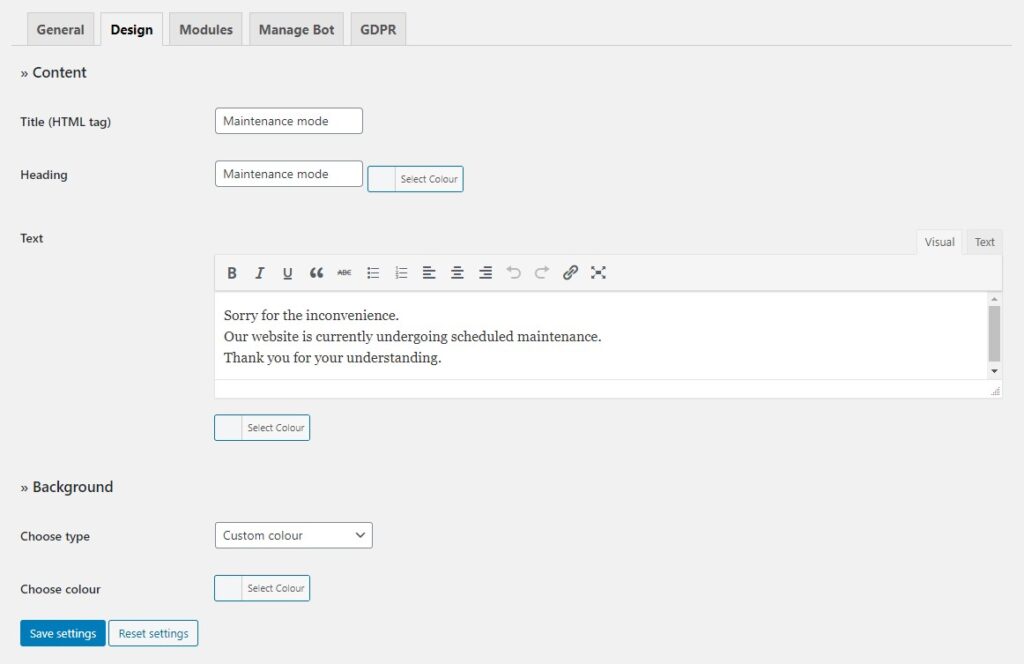
Design
In the design section, you can design your Splash or Landing page as you want. In this section, you can change the HTML Title tag, Heading, text and their colors. Change the maintenance message from here. You can change Background types like image or color and Save Settings in the end.
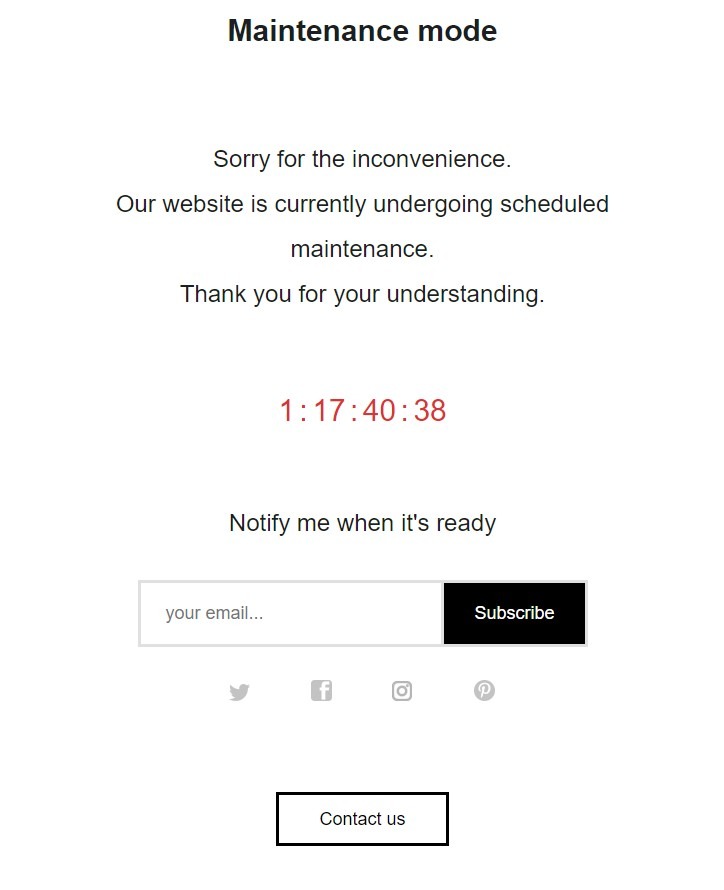
Module
In the Module section, you can add a countdown timer and set the date and remaining time that will show on your Landing Page. More you can add a Subscribe Button for your visitor that is used to notify when your website is live.

You can also add Social Networks on the Landing Page. If someone visits your website then he can view your social media pages as well. In the end, you can add a Contact Us button so visitors can easily contact you. You can add Google Analytics for tracking by adding your Tracking code here. After saving these settings your new landing page look likes below.
Manage Bot
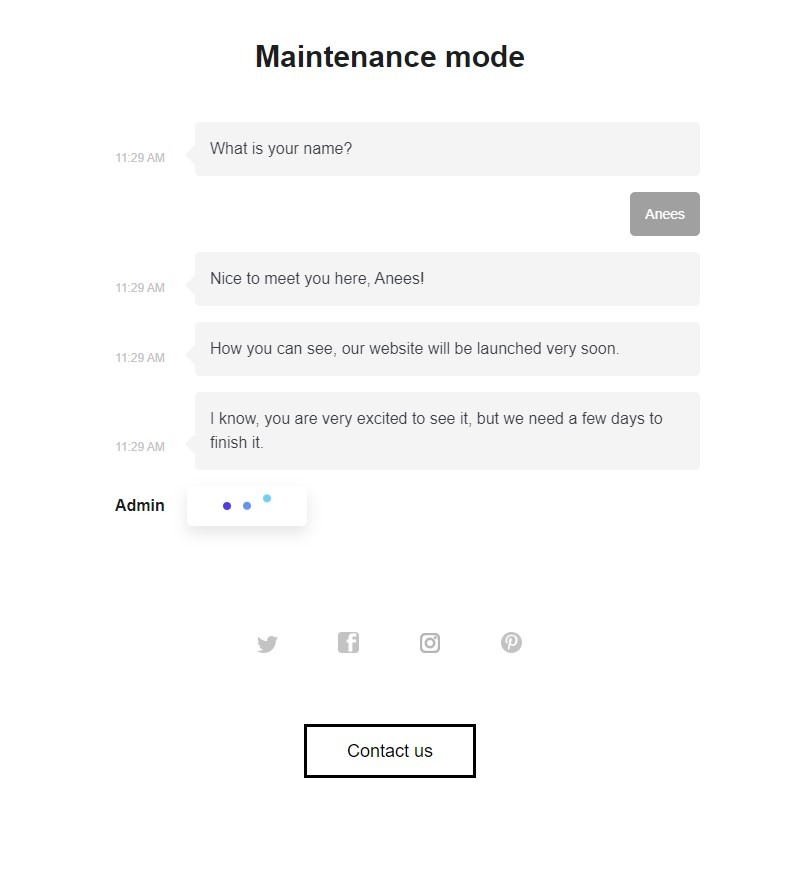
In this section, you can add a Bot or Robot that will talk to your visitor on your behalf and collect his email to notify him when your website is live.
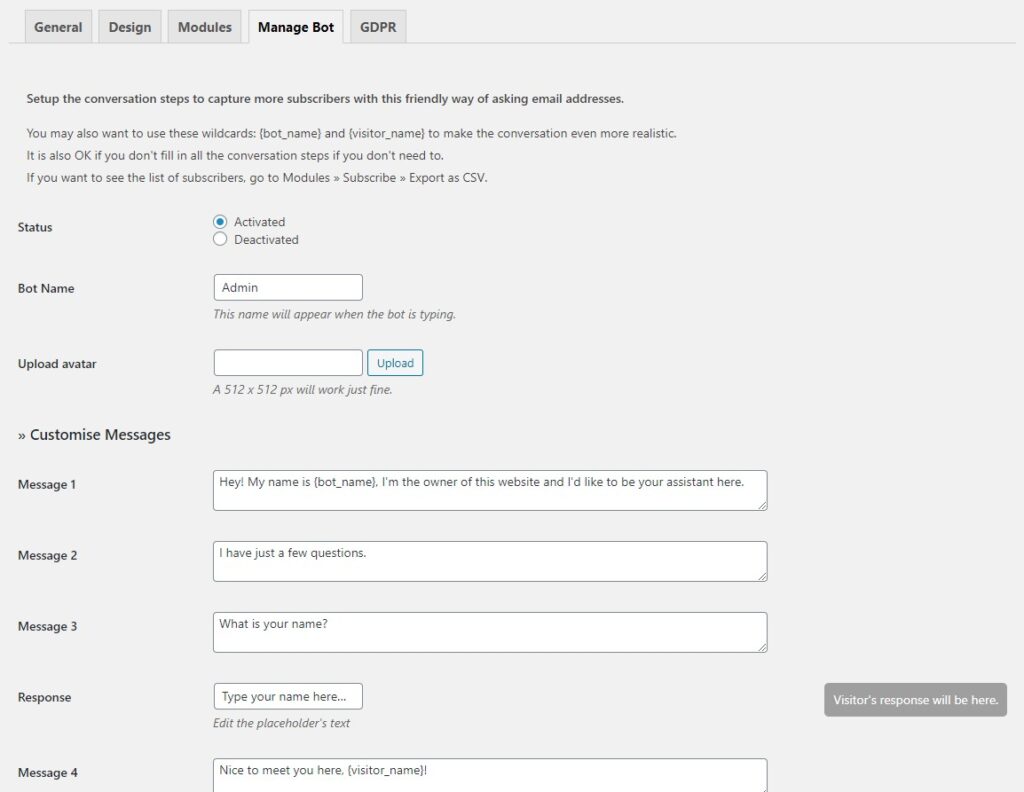
You can change Bot Name, Avatar and customized Messages from settings. You can export your subscriber list from Modules > Subscriber and Export as CSV. Your new Landing Page will look like below after setting a Bot.
GDPR
GDPR that stands for General Data Protection Regulation, if you get data from your visitor then it should be according to the Data Regulation rules. So, enable it by providing your Privacy Policy.
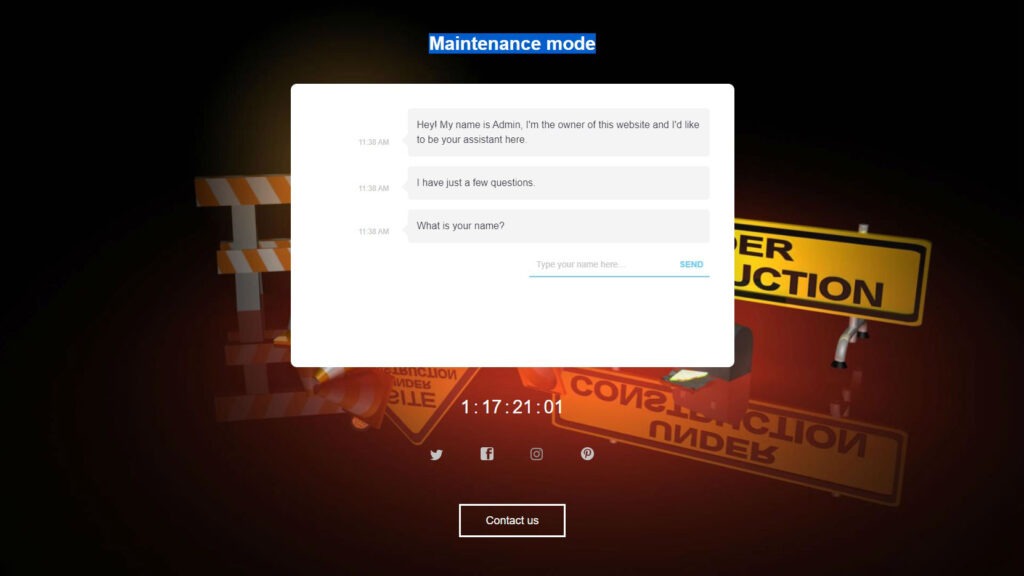
When you design your New Maintenance Mode Landing Page then this will look like below.
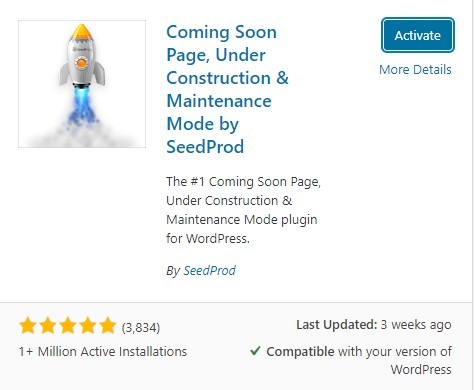
SeedProd
SeedProd is another premium Maintenance Mode and Coming Soon Page plugin for WordPress having more than 1 million active installs. It provides the following features:
- Create a Professional Coming Soon Page
- Work on your Site in Private
- Rank in Google
- Social Sharing
- Referral Tracking
This plugin has Realtime Page Builder, 500k+ background images, Fonts and Themes, Multilingual and GDPR Ready. Its paid version pricing is starting from $29 for 1 website and 1-year full support and updates. Get SeedProd Pro version here.
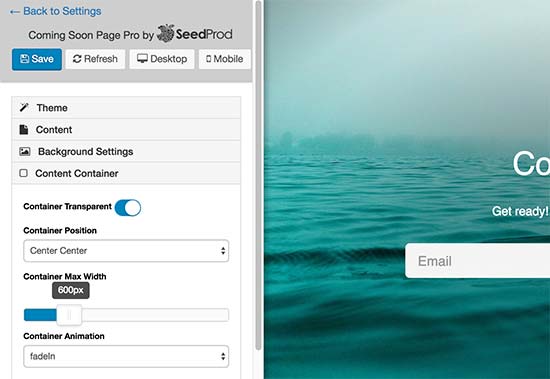
After installing and activating this plugin you will see the 5 sections from where you can maintain your Coming Soon Pages and Enable Maintenance Mode.
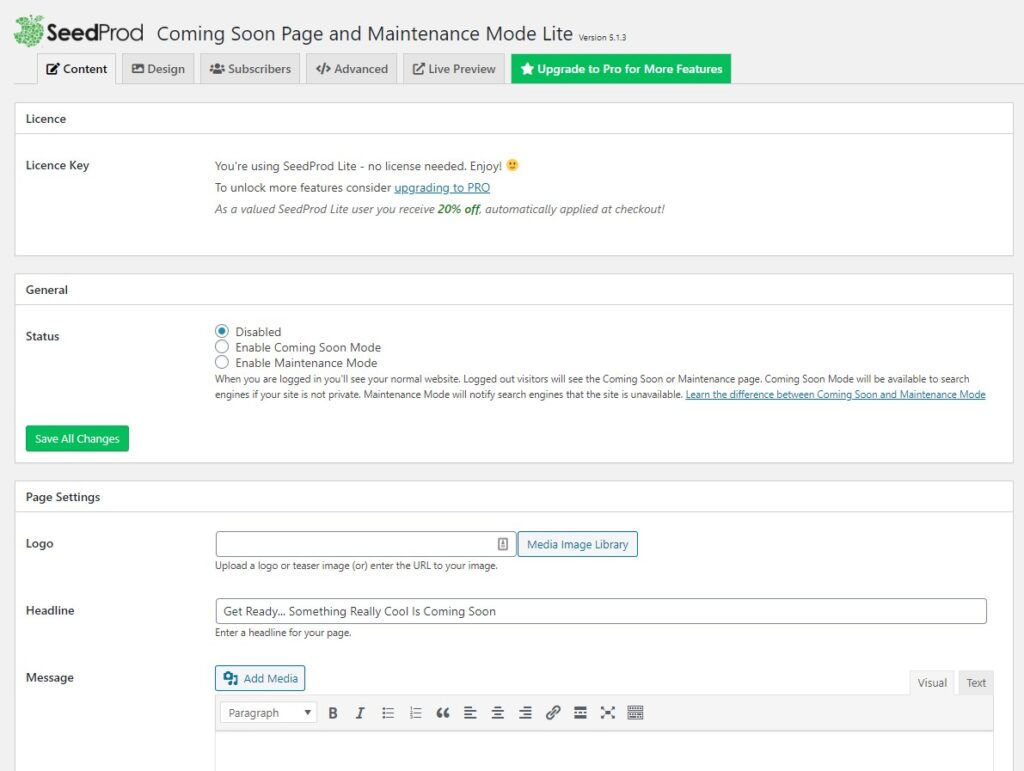
Content: In the Content section you can enter your License Key and in General, you can enable Coming Soon Page or Maintenance Mode. In Page Settings, you can change the Headline, message and Logo of your landing page.
Design: In this section, you can change the Background, content, text and Template of your Coming Soon Landing Page. You can change the background color, image, size, Text Color, size and font. You can get Pro Templates and Backgrounds in the SeedProd Pro version.
Subscribers: With this subscriber option you can collect email from your interested visitor before starting your website and get a boost in Google Ranking.
Live Preview: in live preview, you can design the landing page as your desire. You can select a theme or template and then changes it according to your needs.
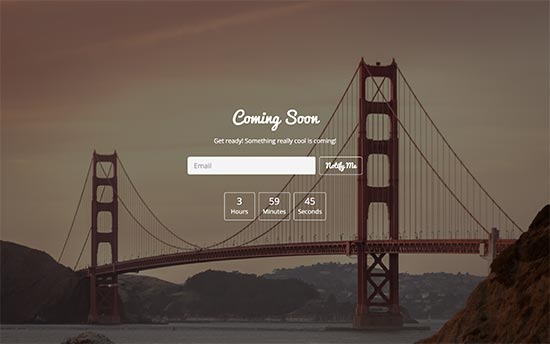
After designing your Coming Soon Page or Enable Maintenance Mode your landing page will look like this.
Method 3 – Using a custom Function
If you don’t want to install a plugin then you can add a custom function in your theme’s functions.php file. Before doing this please take a backup of your website. You can enable the maintenance mode of your website and design it without any plugin so copy the following lines at the end of functions.php file from Theme Editor.
// Activate WordPress Maintenance Mode
function wp_maintenance_mode() {
if (!current_user_can('edit_themes') || !is_user_logged_in()) {
wp_die('<h1>Under Maintenance</h1><br />Website under planned maintenance. Please check back later.');
}
}
add_action('get_header', 'wp_maintenance_mode');
You can change the text between quotes as well.
Method 4 – Using .htaccess file
You can also add some lines of code in your .htaccess file then will put your website in maintenance mode as well. But it is a tricky method so take a backup before doing this. Copy the following lines of code in your .htaccess file.
RewriteEngine On
RewriteBase /
RewriteCond %{REQUEST_URI} !^/maintenance\.html$
RewriteRule ^(.*)$ https://example.com/maintenance.html [R=307,L]
Now you have to create a maintenance.html file in your website directory from File Manager. “this method will redirect all requests to maintaince.html file and you will not able to access your WordPress admin Dashboard as well.”
Conclusion
If you want to make a major change in your WordPress website and surprise your visitor then you can enable Maintenance Mode in your WordPress website. You can do this by different methods. If you use Hostinger then you can easily active maintenance mode from hPanel.
You can add WP Maintenance Mode WordPress plugin in your WordPress website that will handle your Maintenance Mode and design your Landing Page. Some other plugins are used for such tasks that are explained above. You can add PHP lines of code in functions.php file and.htaccess file if you don’t want to use any plugin.
Additional Tutorials
- Add Subdomain and Park Domain in your Hosting
- Create a Professional or Business Email
- How to Manage File Manager
- Change Nameserver
- Install SSL Certificate in your website
Learn more about Hostinger, WordPress, GoDaddy and other How-to Trick here. Follow our Newsletter to get every trick in your email. Please provide your suggestion and feedback by Contact us. You can also like us on Facebook, Twitter, Instagram, YouTube and Pinterest.